The following step-by-step example shows how to create and format tables in Excel.
Step 1: Enter the Data
First, let’s enter the following data about various basketball teams:

Step 2: Create the Table
To turn this data into a table, first highlight all of the cells in the range A1:C11.
Then click the Insert tab along the top ribbon and then click the Table icon:

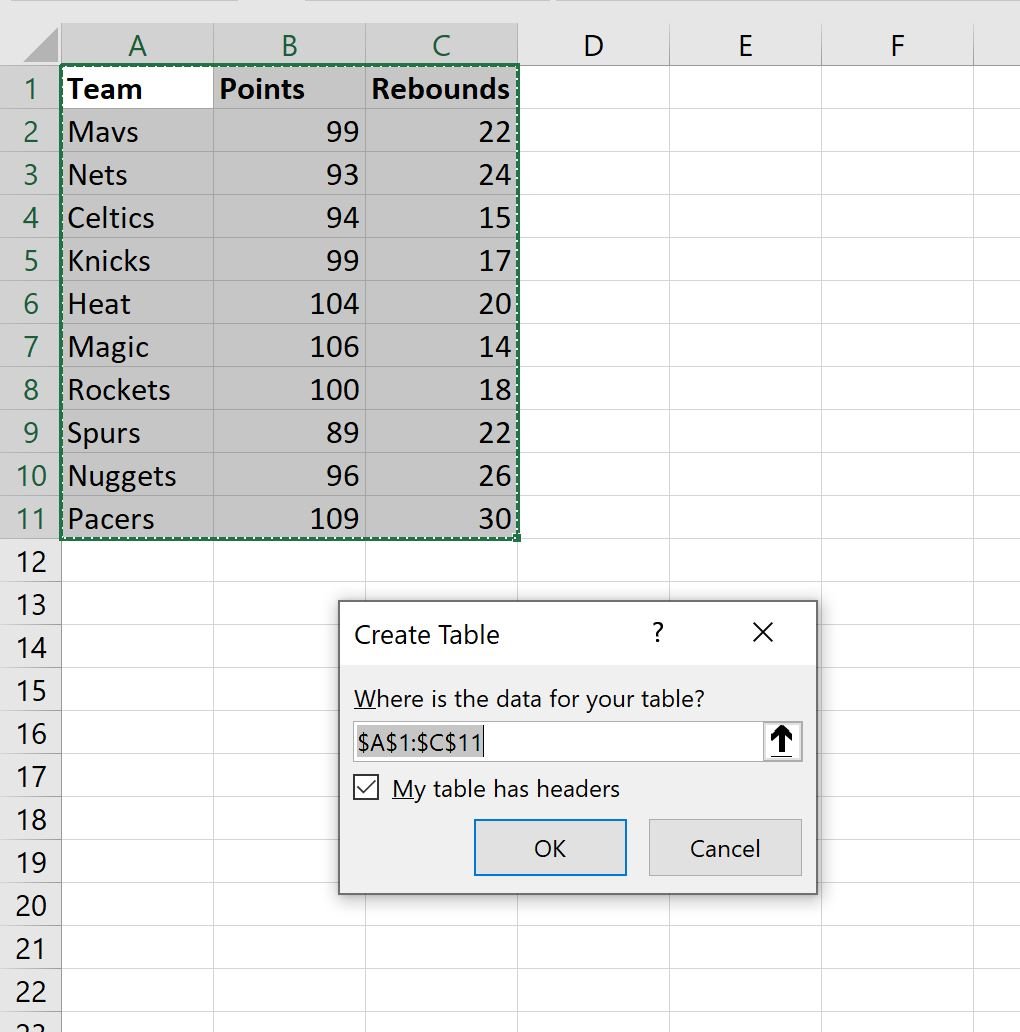
In the new window that appears, verify that the range for the table is correct and check the box next to My table has headers, then click OK:
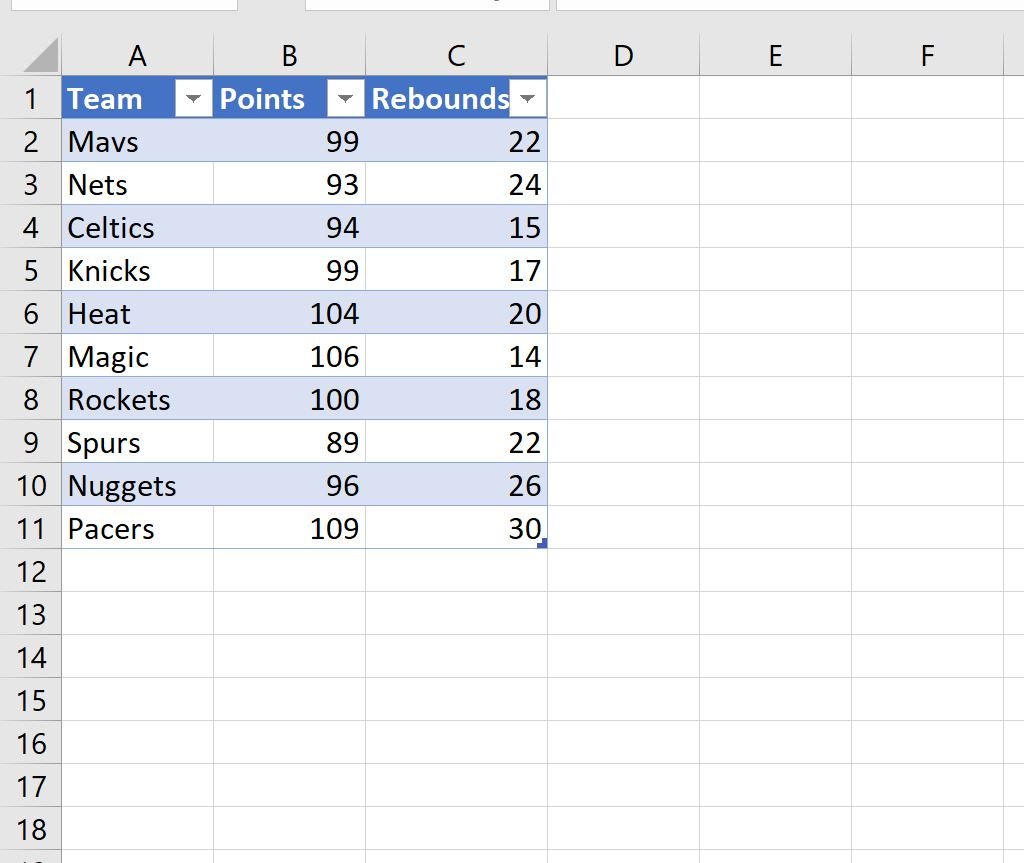
The following table will automatically be created:
Step 3: Format the Table
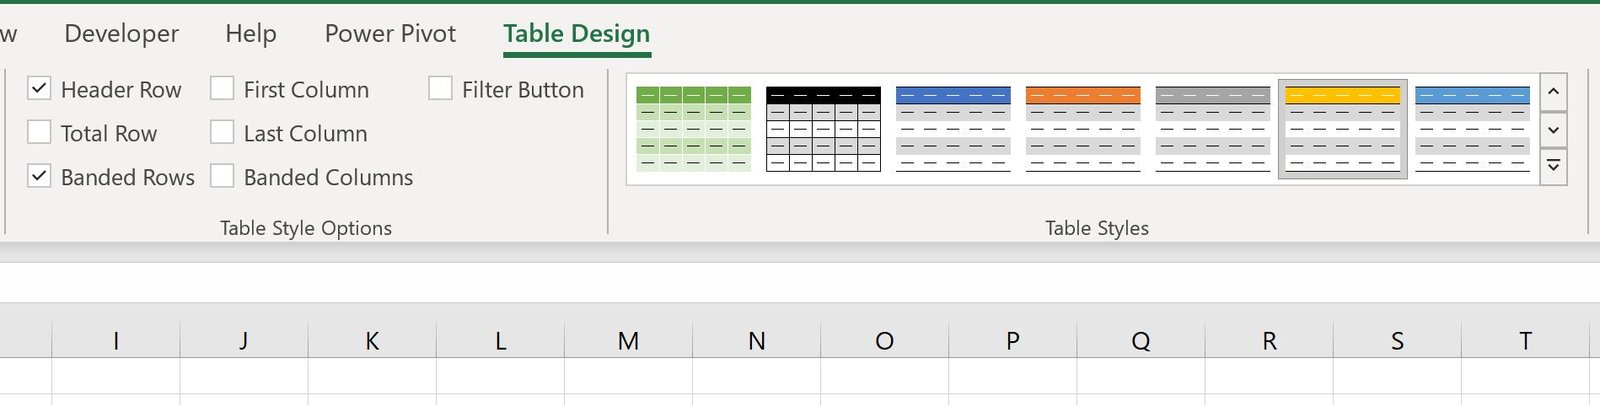
To modify the appearance of the table, simply click on any value in the table. Then click on the Table Design tab along the top ribbon.
This will give you a variety of options to change the appearance of the table.
For our example, we’ll uncheck the box next to Filter Button to remove the dropdown arrows in the header of our table and we’ll choose the yellow table style:
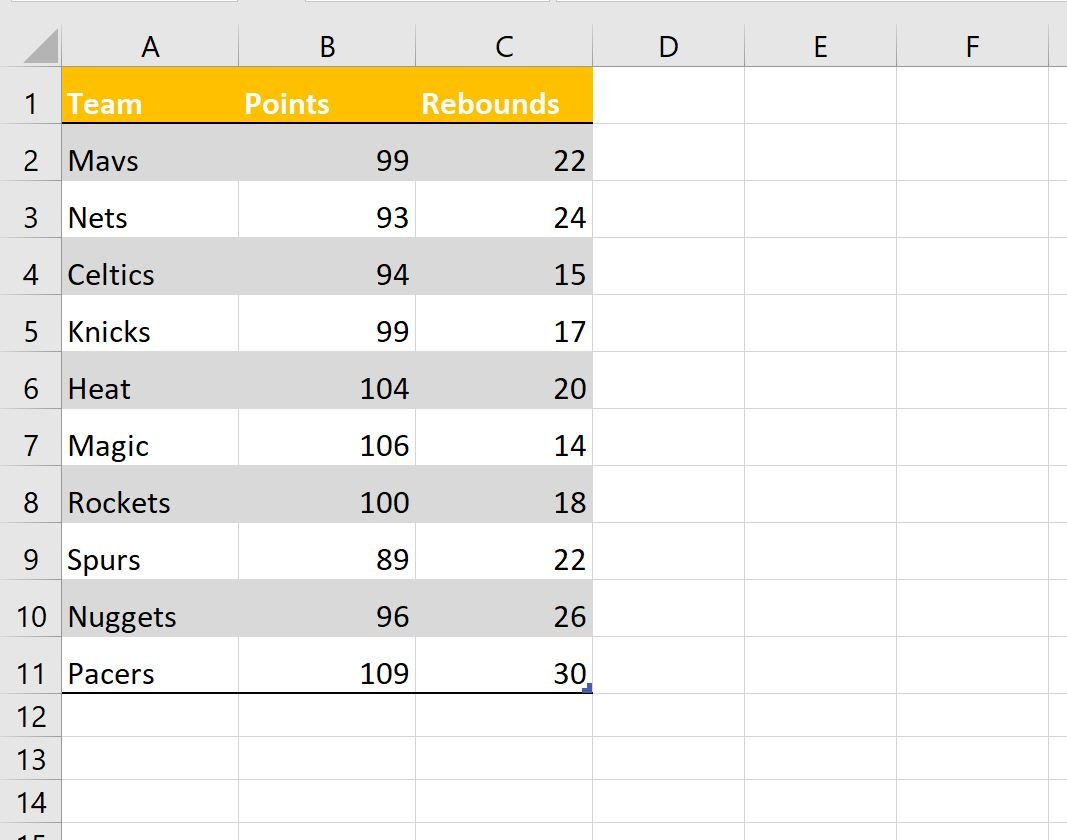
The style of our table will automatically be updated:
Feel free to play around with the design options in the Table Design tab to make the table appear however you’d like.
Additional Resources
The following tutorials explain how to perform other common tasks in Excel:
How to Create a Contingency Table in Excel
How to Group by Month and Year in Pivot Table in Excel