How to install NetBeans on Ubuntu 160.4 LTS?
Introduction
NetBeans is an IDE (Integrated Development Environment) written in Java. It is used to create and developed software applications.
It was primarily designed for Java but now supports other programming languages also. It is cross-platform so can work on any operating system.
To install it on Ubuntu, we will follow the following steps.
Prerequisites
Following are the some prerequisite to complete installation process.
- Ubuntu
- Java
- login as root login into terminal
- Internet connectivity
NetBeans Installation
We can install it either by using apt-get install command or by downloading .sh installer from the official site of Oracle.
Install By Using APT
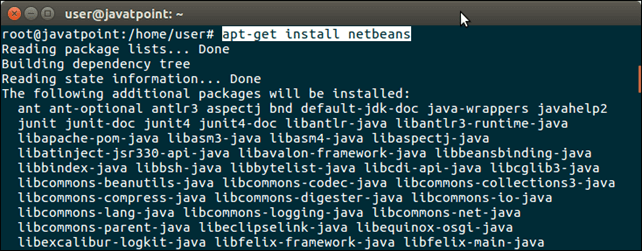
Use the following command to start installation.
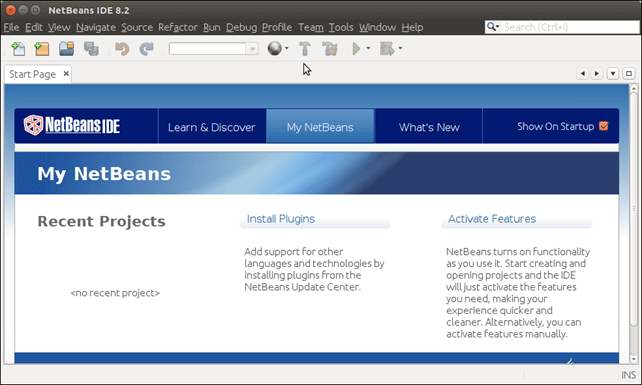
After installing, open the IDE and it will display the start up page.
Well, we have successfully installed NetBeans. Now, we can create or open projects.

Install By Using Installer
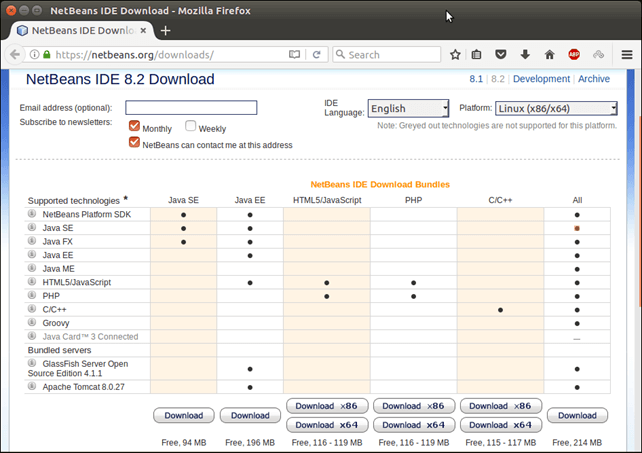
Visit netbeans.org and download NetBeans based on your requirement. See, as we did in the following screen-shot.
Save the file.

Move to Download folder because file is stored in Download folder.
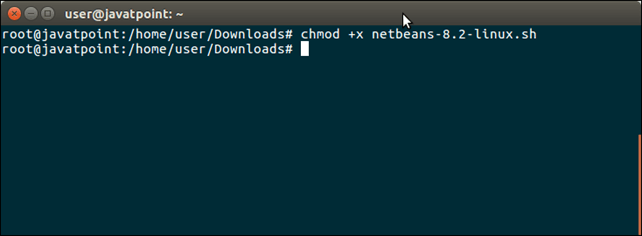
Set permission and make file executable.
Now, install it by using following command. It is a Linux executable file.

It will pop up an installer that looks like the following.

Select terms and conditions.

Provide location to install.

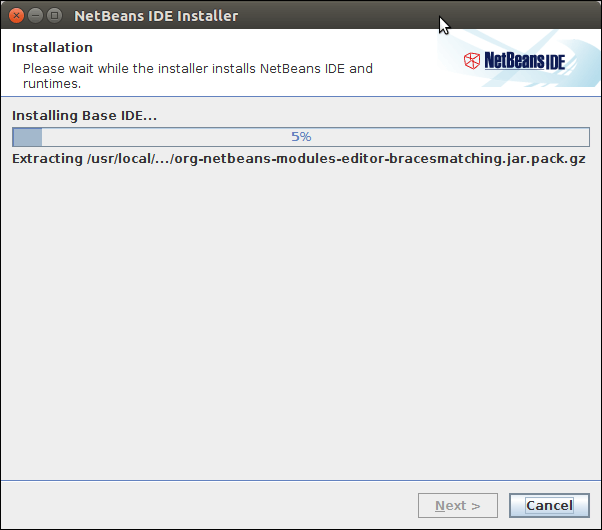
Finally, installation starts.
Installation successful.

NetBeans has been installed successfully. Now, we can open it to create applications. The start page looks like the below.
